HOSTING CONTROLLER 7C MANUALS :: Host Admin |
|
HOSTING CONTROLLER 7C MANUALS :: Host Admin |
|
Follow the steps below to perform a successful installation of HC7:
Double
click the HC7.exe
to run the self extracting .EXE file, the setup will unzip the installation
files and will run the installer.
NOTE:
Most of the values are pre-populated, it is highly recommended not to change
them.
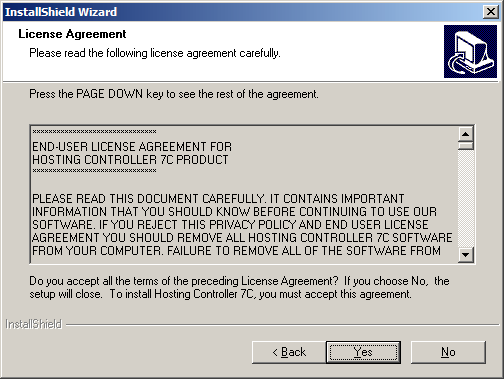
In the first information dialog, click Next. You are displayed the license agreement, read the license agreement carefully before proceeding. If you do not agree with the terms of the license agreement, cancel the setup. If you agree to the terms click Yes.
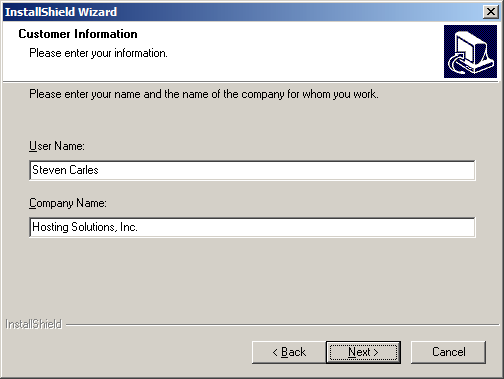
In the Customer Information dialog, supply your name and your company name. Click Next.
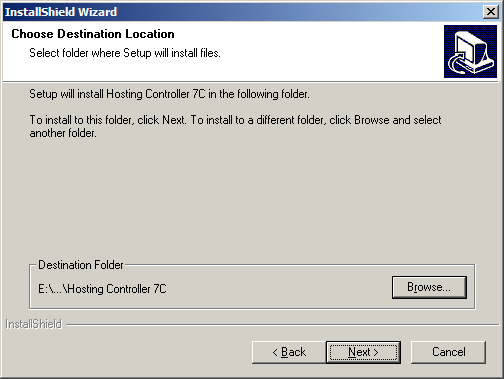
In the Choose Destination Location dialog, please select the location where you want to install HC7. Click Next.
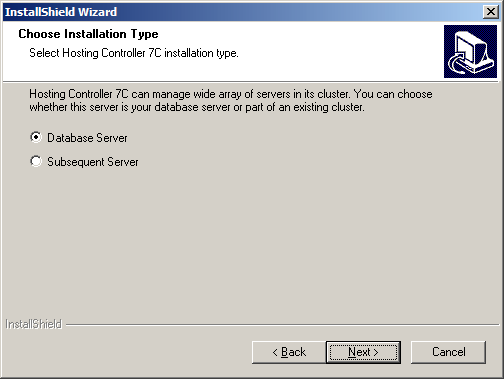
In the Choose Installation Type dialog, you can choose whether this server is going to be your first server in the cluster or its a part of an existing cluster. Here you are given two options
Database Server
Select for this option if this server is going to be your first server in the cluster. First server in the cluster must be a database server where installer will create HC7 database.
Subsequent Server
Select for this option if this server is going to be a part of an existing cluster. If you select this option then installer will ask for database server in the cluster.
Click Next.
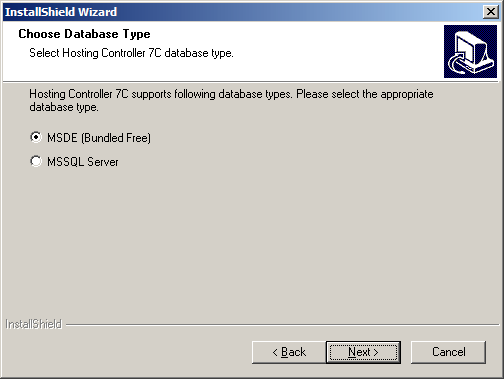
This dialog is displayed in case you have selected Database Server option in previous screen (V). In the Choose Database Type dialog, you can choose appropriate database type. Here you are given two options:
MSDE (Bundled Free)
If you select this option then installer will setup a separate MSDE instance for HC7 and will create database on it.
MSSQL Server
If you select this option then installer will create database on your MSSQL Server.
Click Next.
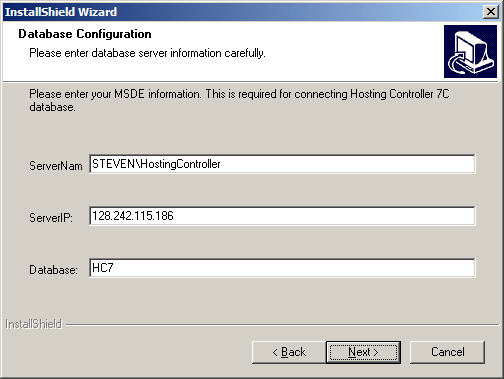
In case of MSDE:
In Database Configuration dialog, please enter your database server name, server IP and database name. Most of the values are pre-populated and its recommended not to change any of these pre-populated values.
Click Next.
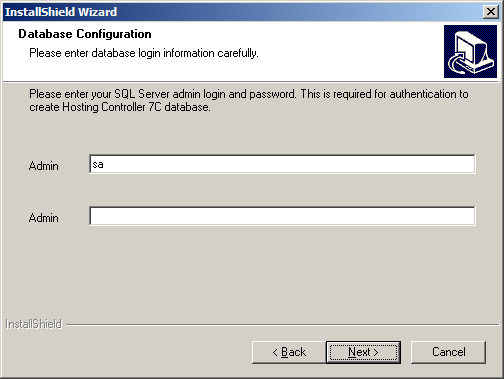
In case of SQL Server:
In the Database Configuration dialog, please enter your database login name and password. Login name is pre-populated and its recommended not to change it, just enter your password.
Click Next.
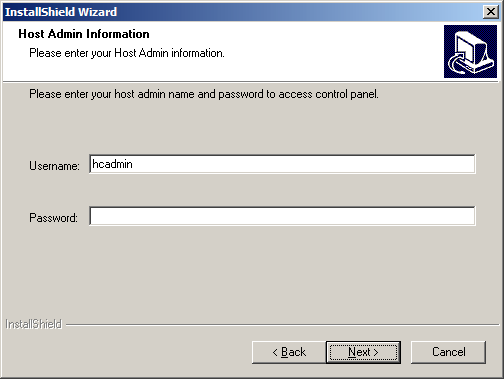
In the Host Admin Information dialog, please enter your host admin name and password. Host admin name is pre-populated and its recommended not to change it, just enter your password.
Click Next.
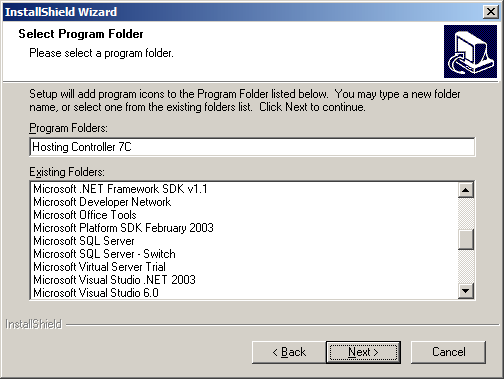
In the Select Program Folder dialog, select the name with which HC7 should create the startup links in your Start menu. Click Next.
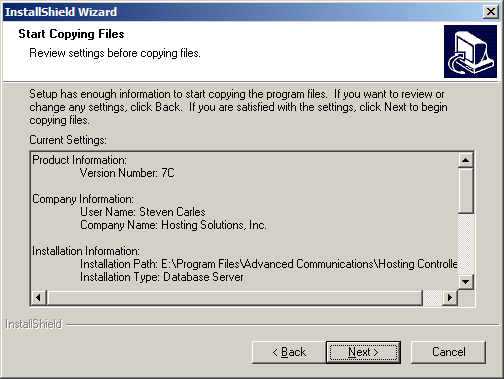
In the Start Copying Files dialog, please review current settings. Click Next.
That's it! You have successfully installed HC7. Now proceed for Post Installation steps.